To start the Ferumbras Ascension Quest, you must first help Feysheng to receive a teleporation rod, which is required in the quest.
We are starting the quest from Roshamuul temple.
1. Visit Feysheng. Follow the map.
You must bring 1x ectoplasm container (filled with blue ectoplasm), 1x small golden anchor, 1x staff, 1x gold ring, which will be fused into the teleportation rod.
2. Speak to Feysheng about the teleportation rod.
3. With teleportation wand fused, you can proceed to the quest area.
Watch out! From now on you will encounter multiple monsters.
5. You arrived at the main room. You must defeat seven bosess and their minions.
Important! Whenever you slain a boss, you will be teleported to an area with altar. You must use the teleportation rod on the altar, or else the boss will not be marked as completed
You must defeat a minion; Lord of the Lice first before descending to the lower floors of this seal.
6. First Seal
Strategy: Plagirath will sometimes turn its target's appearance into a bog raider and when this spell runs out, all the characters within a great area (around the same size as an UE) will be hit for 1500 health, so the best strategy to make sure shooters don' take this hit is that they stay in the southeast or southwest corner of the room while the knight stands in the center, as far as possible so the druid can see him in the corner of his screen to heal him. Furthermore, Disgusting Oozes will constantly spawn during the fight, and they wont disappear after the boss is defeated, so the safest method is to let the Knight block them and shoot only with Great Fireball Runes and diamond arrows for paladins, if an Ooze happens to target a shooter in the corner, the best idea would be that the paladin lure it to the knight and return to the corner.
Strategy: This boss will constantly summon 1 equally strong and 5 weaker versions of himself, which will make it hard to spot the true boss. A good strategy is to stay on the corner of the room with the Knight to the front so he takes most of the summons and the boss, once there just use your best area spells/runes/ammunition until you defeat Zamulosh. The boss also uses invisibility very often which is another reason to use area attacks. If not all versions are being attacked, the team will be teleported to the center of the room. If this happens, just walk back to the corner and make sure everyone is attacking all bosses and not just one.
You must touch six statues on the way to the boss. They are marked with a blue line.
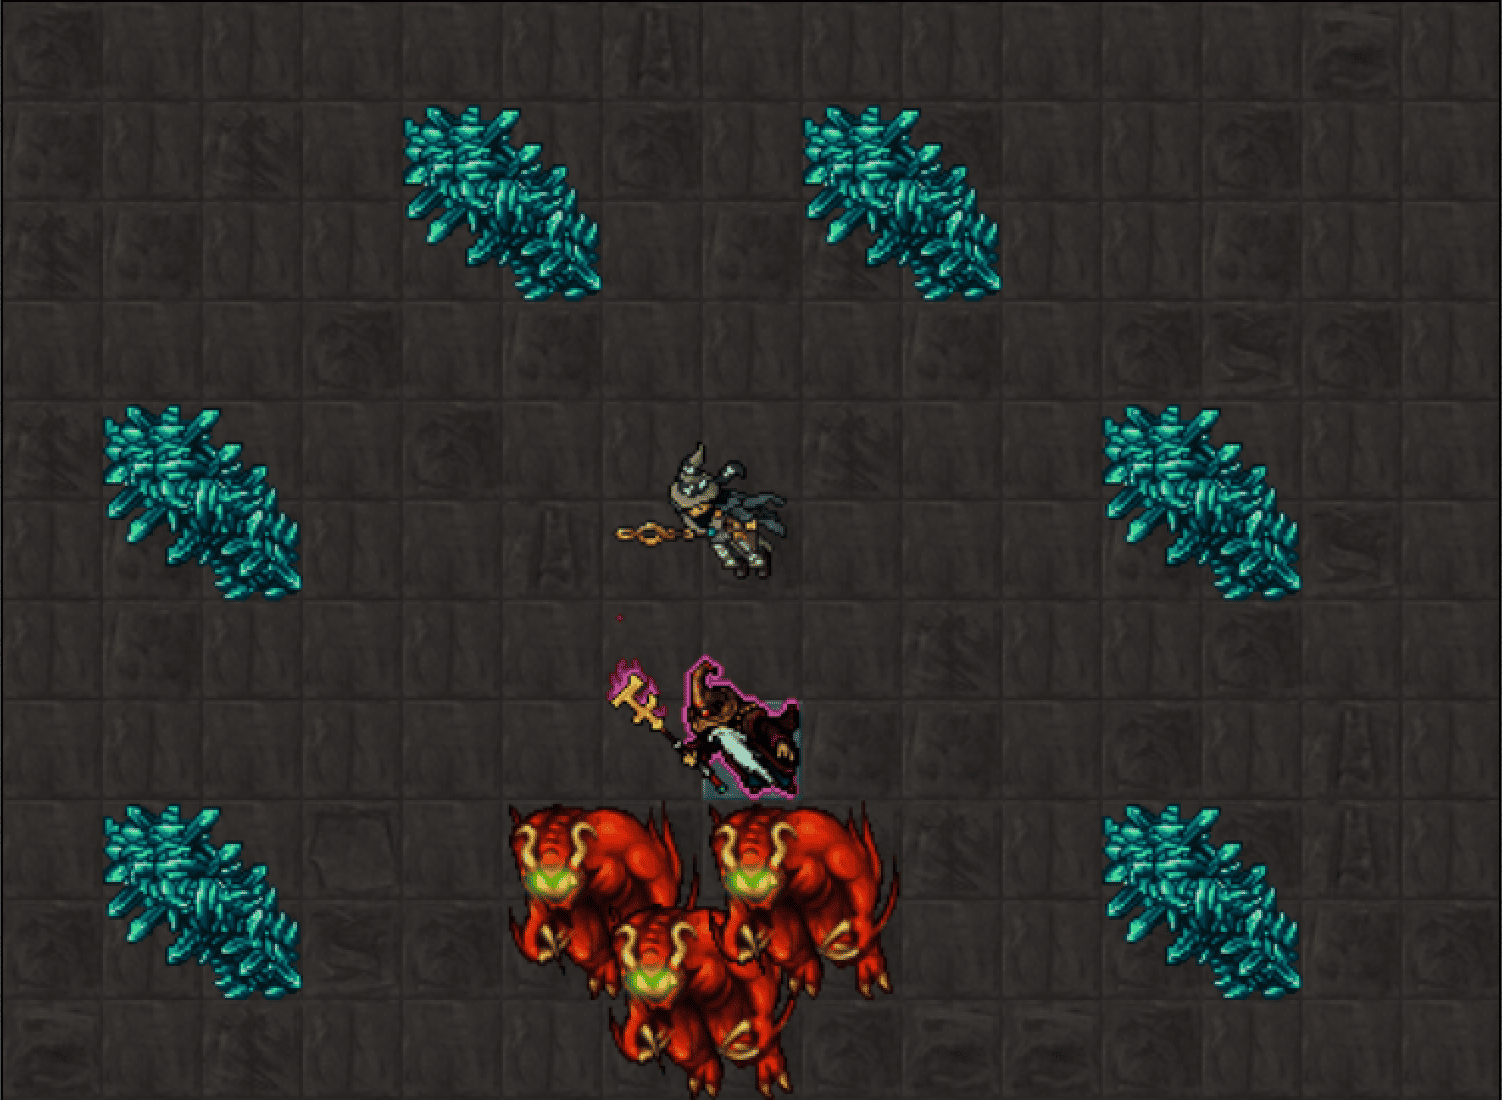
8. Third Seal
Strategy: This boss is ironically one of the easiest of this quest, the blocker just has to take it to the southern part of the room and the shooters stick to the wall, every few minutes the floor will turn into lava (which deals 1500 Fire Damage if you walk on it) and 5 Rages of Mazoran will spawn. Avoid walking when the floor is lava, the summons will die fast with some area attacks. If necessary they can be passed to a blocker after the Lava disappears since it should be safe to walk for a minute or so. .
You must defeat a minion; The Shatterer first before desceding to the lower floors of this seal.
9. Fourth Seal
You must pull 4 levers first, marked with the 'X' on minimap to release The Shatterer.
After defeating The Shatterer, you may now continue your descent to the lower floors.
Strategy: Players will be brought to a room with Razzagorn and 4 Demons, which can be spread across the room. The team can stay to the west of the room to avoid the Demons from the east from rejoining the fight after respawning. The whole boss room will spark a Paralyze spell every once in a while. During the whole fight, Eruptions of Destruction will be summoned by the boss. When they spawn, players should focus and kill it as fast as possible. Failing to kill it within 8 seconds will cause it to explode, dealing up to 2,500 damage (split between different types, Energy Damage, Fire Damage, Physical Damage, and Mana Drain), heal the boss for 11,500~19,500, and spawn another Demon. Only Focus on Razzagorn when there are no Eruptions alive.
Strategy: Together with Ragiaz, there will be 4 Death Dragons in the room. The Death Dragons respawn immediately after being killed, so killing them is futile. From time to time, Ragiaz will transform into a Bone Capsule, which is an immobile cocoon. You have to kill the cocoon as fast as possible, because the longer it stays alive, more health Ragiaz will recover. Once the Bone Capsule is destroyed, Ragiaz will reappear at the center of the room.
Strategy: Inside this room you will find 4 Guilts, but they don't move. Avoid the center of the room since they have ranged attacks and stay near one of the corners to minimize the damage taken from them. Tarbaz itself is not very strong, so you should just attack it. Eventually during the fight the team will be teleported to another room. In this room the movement speed of all characters will be extremely slow, so be patient and start following the path, avoiding the melee range of the Guilts here. You will find 4 Despairs on your way which you have to kill to be able to proceed. At the end of the path, enter the teleport to return to the room with Tarbaz.
Strategy: At the start of the fight and every few minutes the boss will spawn around 5 Sin Devourers and 3-4 Damned Souls. The Sin Devourers will paralyze you and cast spells that reduce skills and magic level drastically. The Damned Souls will run away from you and will turn into a Purified Soul Purified Soul when they get slain, which must be used on the Sin Devourers to make them disappear. It is recommended that the weakest shooter of the team does this work, but if a Sin Devourer targets him, its paralyze will make it harder because the crystals expire in 5 seconds. Either way, it's important that one shooter keeps doing this part while the rest of the team focuses on the boss.
13. Follow the map to arrive at the Final Seal
Strategy: It's essential that the team brings Convince Creature Runes for the fight, since they are required during the third stage. Two runes per player should be more than enough. First Stage: Crystals - Eight blue crystal structures surround Ferumbras. The Rift Invaders must be killed adjacent to the crystals in order to destroy them, which happens when it changes to a pink color. They spawn at the north part of the room, so the blockers should lure from that area specially for the southern crystals. The common strategy is to leave the south pillar to the west last in order to prepare the team for the next stage. Second Stage: Ferumbras Soul Splinters - As soon as the last crystal is destroyed, eight Ferumbras Soul Splinters will appear. If the team has correctly positioned in a corner, only 2-4 Soul Splinters will be in range of the team. Since they summon regular Demons and deal considerable damage, it's much safer to lure them slowly. Kill them one by one using single-target attacks to quickly reduce the damage taken by the team. Each defeated Splinter will become a Ferumbras Essence, which is harmless. Once all Splinters are dead, you should proceed to the next step. Third Stage: Rift Fragments - Ferumbras will now have become Destabilized Ferumbras, but this form cannot simply be killed yet. Lure the Ferumbras Essence onto the vortexes left behind by the Rift Invaders, so they disappear. After all Essences have been dealt with, Rift Fragments will spawn to the north. They must be convinced by players, since they will do most of the damage to Destabilized Ferumbras. It's recommended that Druids stay near them and use Mass Healing to recover their health (and also damage the boss). With the help of the Rift Fragments, Destabilized Ferumbras should die quickly. Fourth Stage: Ferumbras Mortal Shell - Once Destabilized Ferumbras is defeated, he becomes Ferumbras Mortal Shell which is the final stage. The Mortal Shell must simply be attacked. Since it's strong against Death Damage, other elements may be more suitable.
Keep in mind that you can only choose one main reward.
14. Congratulations!